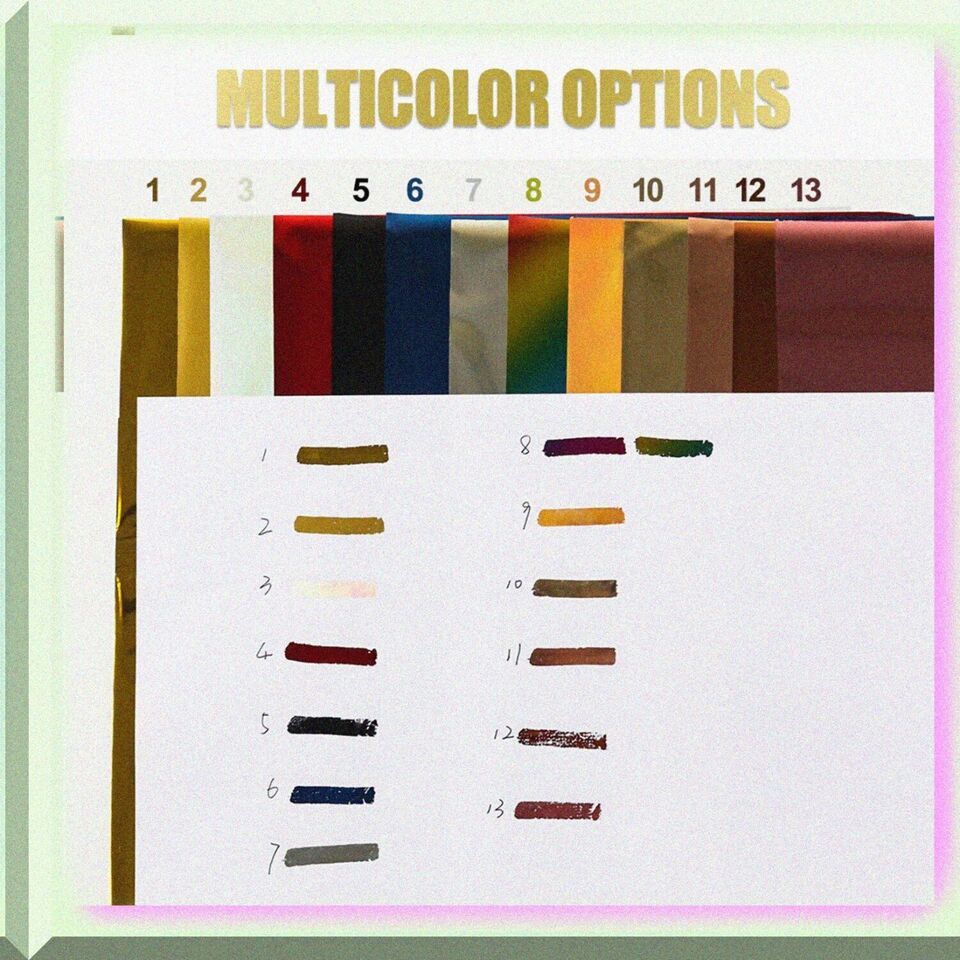
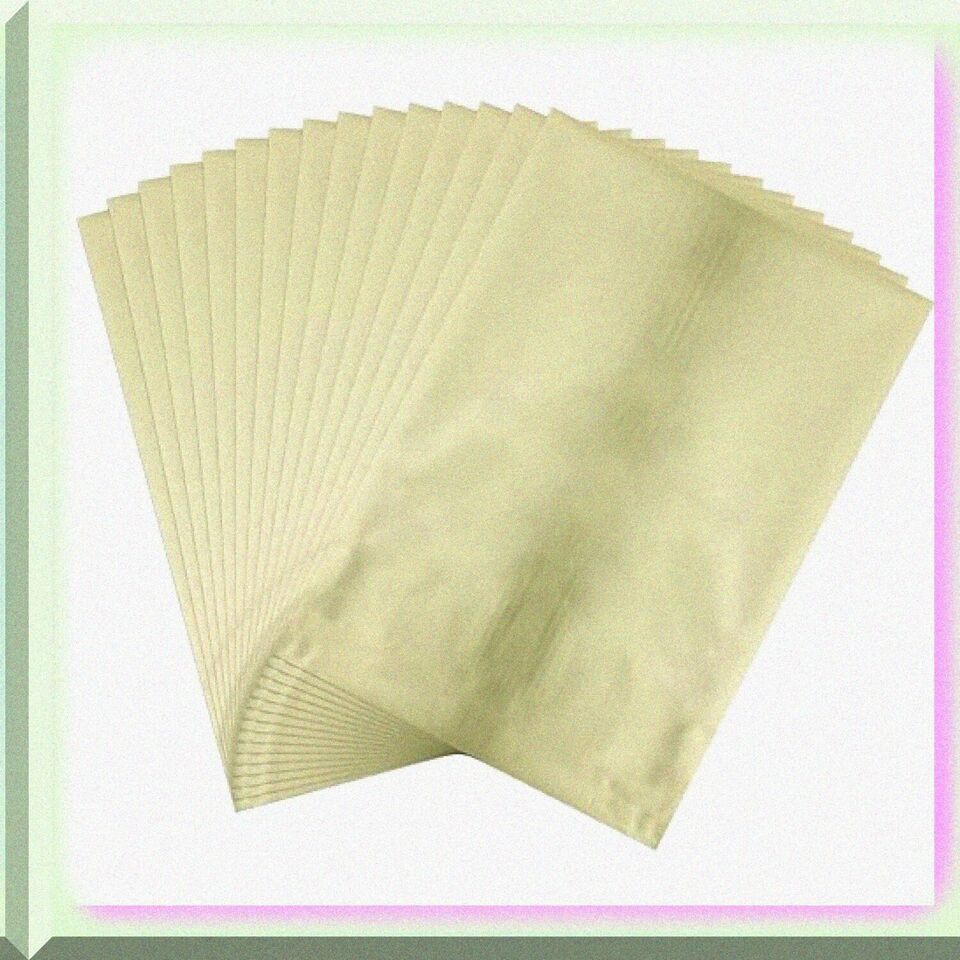
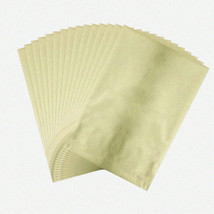
Pale Gold Hot Foil Stamp Paper, 20x29cm, 50 and 18 similar items
Free Shipping
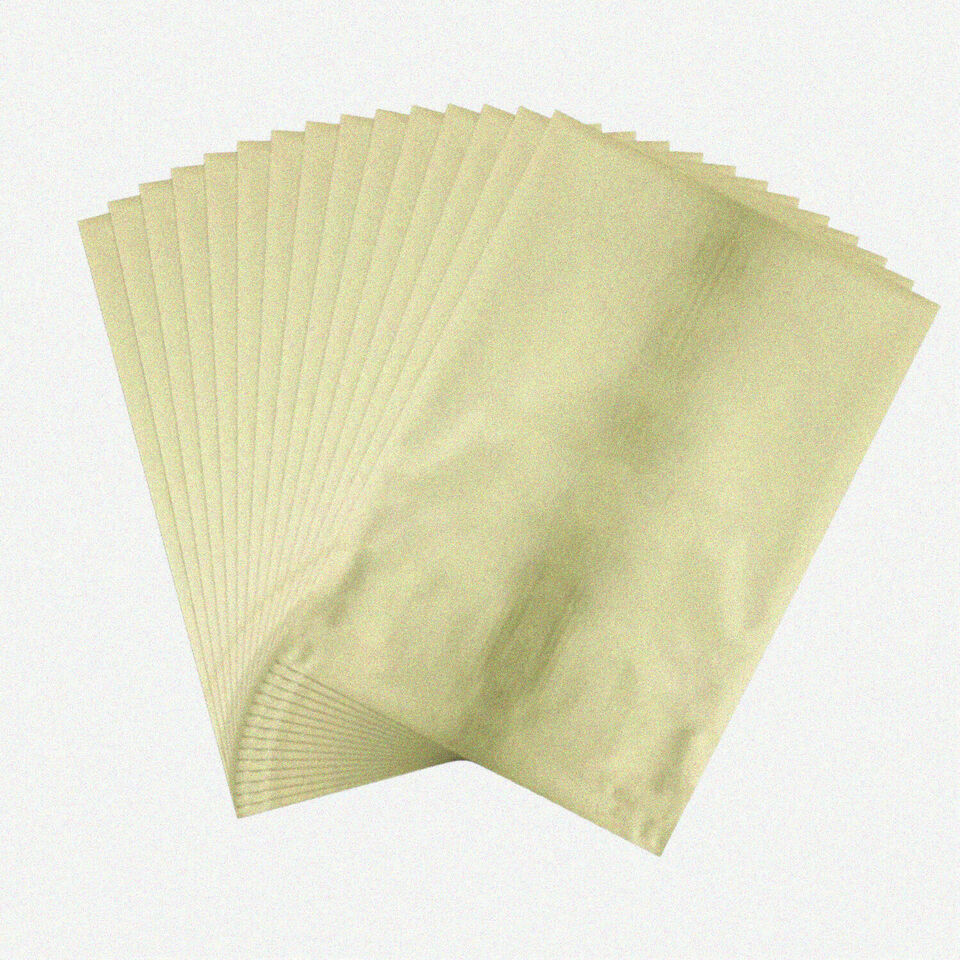
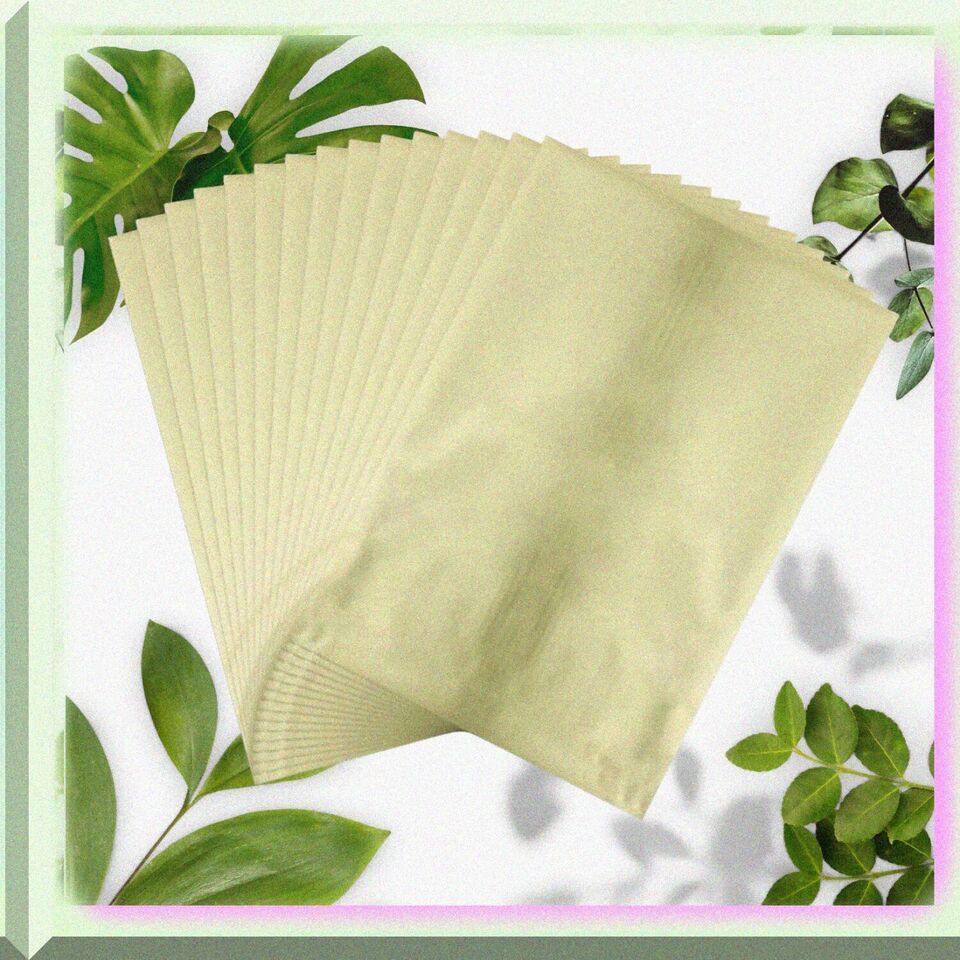
Pale Gold Hot Foil Stamp Paper, 20x29cm, 50 Sheets - Toner Reactive for Laser Pr
$27.67
View full item details »
Shipping options
Seller handling time is 3 business days Details
FREE in United States
Return policy
Purchase protection
Payment options
PayPal accepted
PayPal Credit accepted
Venmo accepted
PayPal, MasterCard, Visa, Discover, and American Express accepted
Maestro accepted
Amazon Pay accepted
Nuvei accepted
Item traits
| Category: | |
|---|---|
| Quantity Available: |
5 in stock |
| Condition: |
New |
| MPN: |
H69C_BRB_CA_C5WW |
| Brand: |
Printique |
| UPC: |
Does not apply |
Listing details
| Seller policies: | |
|---|---|
| Shipping discount: |
Seller pays shipping for this item. |
| Price discount: |
5% off w/ $50.00 spent |
| Posted for sale: |
More than a week ago |
| Item number: |
1655774745 |
Item description
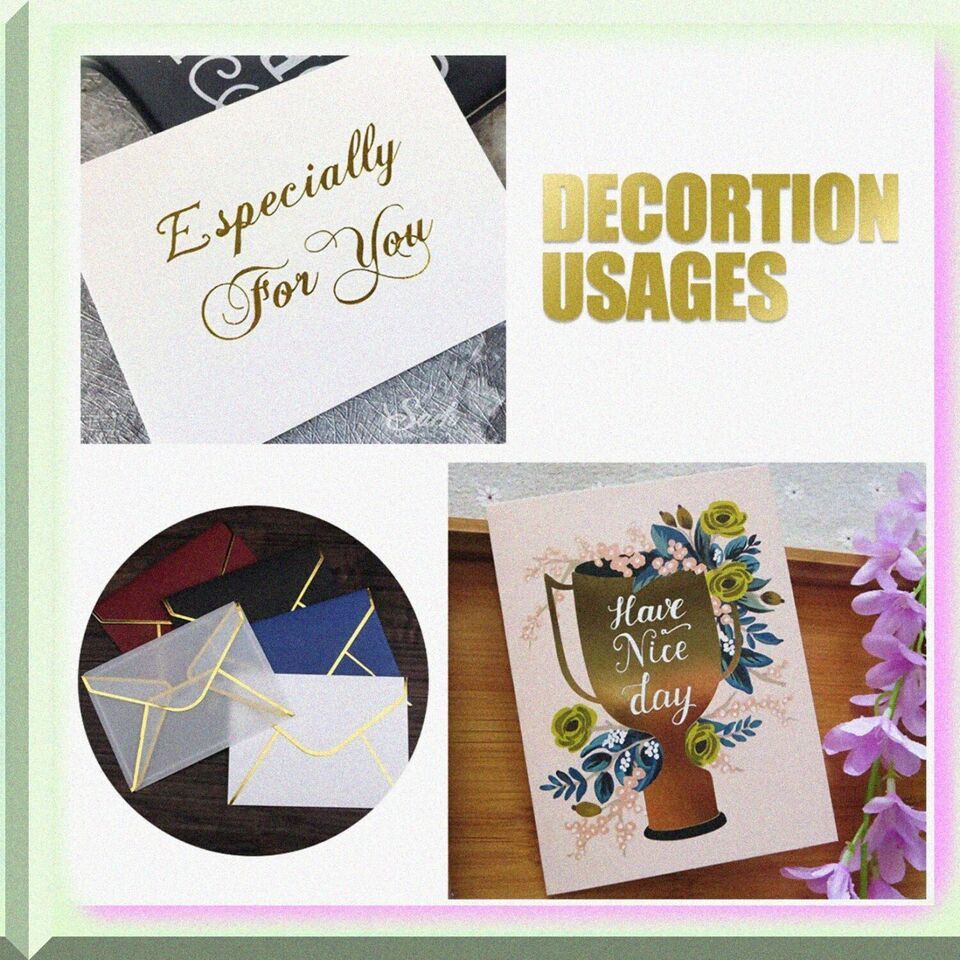
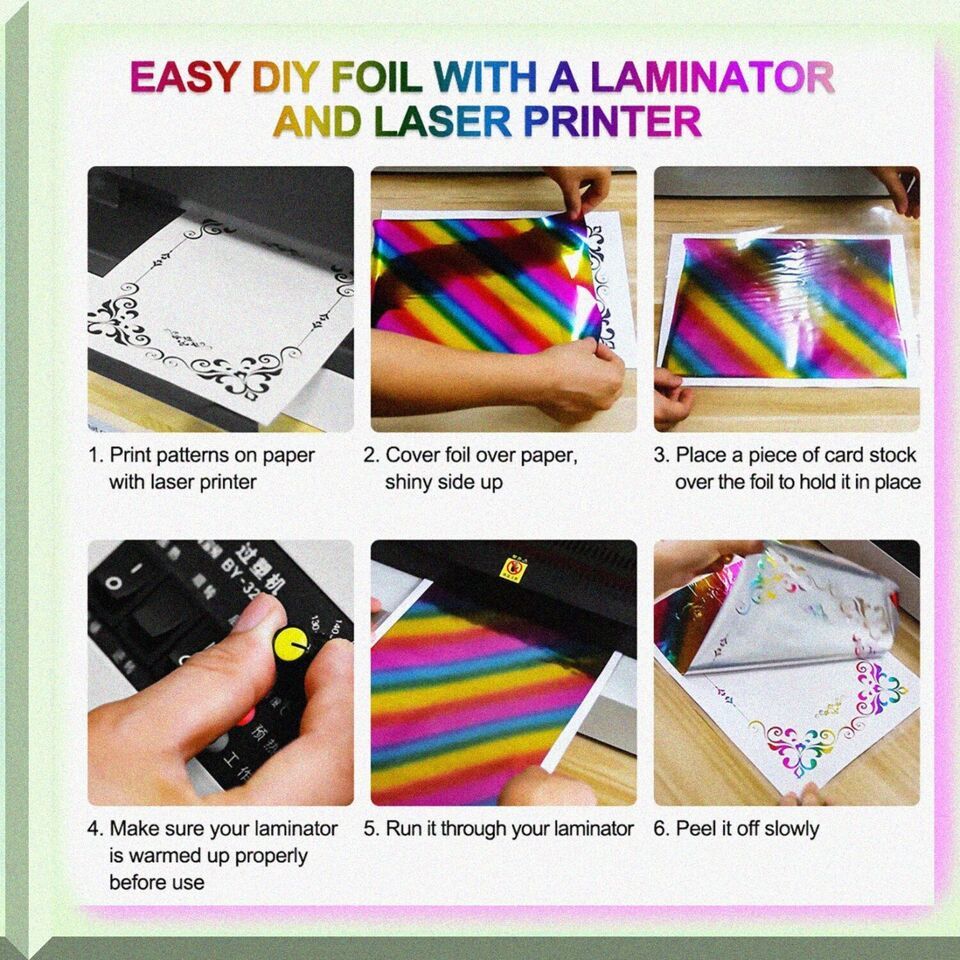
Unleash your creativity with a DIY foil project using a laminator and laser printer! Here's how:
1. Print your desired design on regular paper or card stock using a laser printer.
2. Lay toner-reactive foil over the print, shiny side up, ensuring it covers all black ink.
3. Trim the foil to align perfectly with your paper.
4. Cover with another piece of card stock to secure the foil.
5. Sandwich everything together and run it through a pre-heated laminator. You might need a few passes to achieve perfect adhesion.
6. Gently peel off the foil to reveal your stunning, metallic design!
Elevate your crafting game with this simple, yet impressive technique! === FEATURES === (A) Print Precision Unleashed - Begin your creative journey by utilizing a laser printer to transfer your exquisite designs onto either regular paper or robust card stock. This initial step ensures that every intricate detail of your pattern is crisply captured, setting a solid foundation for the subsequent phases of your project.
(B) Foil Placement Perfection - Carefully unroll your toner-reactive foil, ensuring the shiny side faces upwards, and align it meticulously over your printed paper. This crucial step involves covering all the black ink areas comprehensively, preparing for the magical transformation that follows.
(C) Tailored Trimming - With precision, trim the edges of your foil so that it fits flawlessly atop your printed sheet. This tailored approach not only enhances the neatness of your work but also ensures that the entire surface area of your design is ready for the next transformative stage.
(D) Lamination Magic - Complete your masterpiece by placing another piece of card stock over your arranged foil. This acts as a protective layer and helps in holding the metallic foil securely in place. Proceed to run this carefully crafted sandwich through your pre-warmed laminator, possibly multiple times, to achieve optimal adhesion and a stunning metallic effect. Patience is key here as you peel off the foil to reveal a beautifully enhanced print beneath.
|
Why are we showing these items?
Search Results
Stamp, scrapbooking & paper crafts"stamp" Category "Scrapbooking & Paper Crafts"
|


-
Refine your browsing experience
We can show you more items that are exactly like the original item, or we can show you items that are similar in spirit. By default we show you a mix.


This item has been added to your cart
 Pale Gold Hot Foil Stamp Paper, 20x29cm, 50 Sheets - Toner Reactive for Laser Pr added to cart.
5 available in stock
Pale Gold Hot Foil Stamp Paper, 20x29cm, 50 Sheets - Toner Reactive for Laser Pr added to cart.
5 available in stock
View Cart or continue shopping.
 Please wait while we finish adding this item to your cart.
Get an item reminder
We'll email you a link to your item now and follow up with a single reminder (if you'd like one). That's it! No spam, no hassle.
Already have an account?
Log in and add this item to your wish list.